| 27th Dec 1998
|
Introduction to Database Development: Part 4
|
|
|
Other Sections: Queries (1) Queries (2) |
Using QueriesWith the form we developed previously it is easy to view information about the people whose data is stored in the table tblPersonalDetails by navigating forward and backward. However, while this is fine for the few people so far added, what if there were say 500 or a thousand people? Well if we know a little more about what we are looking for then we can ask a question of our database - we can query the database. Click on the Queries tab in the database window then click New
However, you will learn more about what a query actually does if you build one from scratch. It's not that difficult with Microsoft's QBE grid. With Design View highlighted, click on the OK button
To select a datasource highlight it and click Add or double-click on it's name. Then click close. In this instance we will select tblPersonalDetails.
The Query in Design ViewBelow we see the Query Grid in design view; this is divided into 2 panes. The top pane shows the table(s) or queries that are the source of the data for the query. The lower pane shows the fields to be included in the output. The * character indicates that all fields from the source table will be included. Apart from being quicker to set up (simply drag the * highlighted in blue from the top pane and drop in the lower pane) this also means that if any new fields are added or removed from the source table the query will automatically refect these changes without requiring modification.
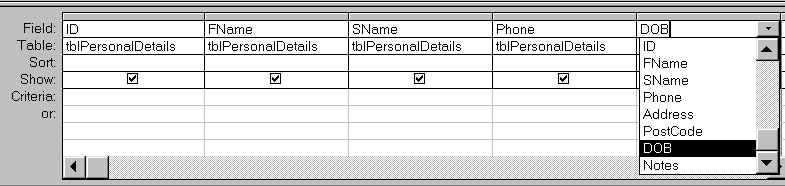
Fields can be selected individually either by drag and dropping from the top pane to the lower pane or by using the field selector drop-down box, as illustrated below in the DOB field.
Running the Query
The output has been sorted in ascending date of birth by placing the cursor in the DOB
column and clicking on the The reason for sorting by date of birth is to make it easier to see the result of our next step; I will show you how to set the criteria to select all records with a DOB occuring in 1970 to 1972. First we must get back to the design view. Click on the design view button: Setting CriteriaBelow we see the DOB field with 2 refinements: first the Sort property has been set to Ascending, thus the output will be in order of earliest dates of births to latest dates of birth. Second a criteria has been added: Between #01/01/70# And #31/12/72#.
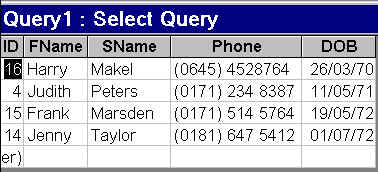
N.B. the dates are in ddmmyy format. Also note that the # is required at the beginning and end of the date parameters. The Between keyword takes two parameters. Dates are required in this case because the DOB field is a date field. If we wanted to find the first 10 members per the number filed ID we could have used the following criteria in the ID field: Between 1 And 10. Or to choose members whose second name beginning with the letter P onwards then the criteria in the SName field would be: >"P". Below is the result of the modified query.
Saving the QueryIt is a good idea to save the query. Click on the Save button
The name given to the query is qryDateParam
Next we shall see how to set up a Parameter Query. |
Developer Links
|
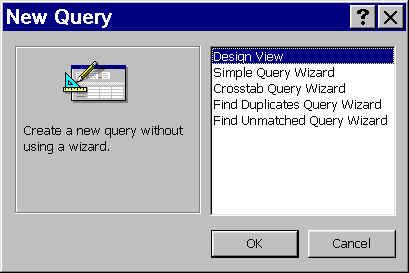 The Simple Query Wizard presents you with a series of
choices to guide you through designing your query.
The Simple Query Wizard presents you with a series of
choices to guide you through designing your query. 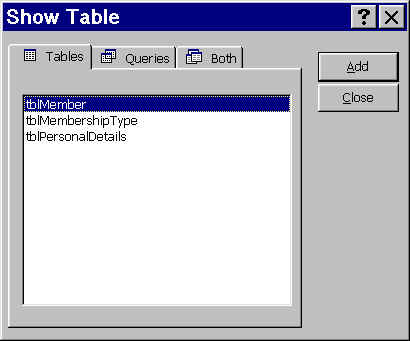 The Show Table dialog box pops up allowing the
selection of one or more tables that will be the data source for the query. N.B. queries
can also have other queries as one of the datasources.
The Show Table dialog box pops up allowing the
selection of one or more tables that will be the data source for the query. N.B. queries
can also have other queries as one of the datasources. 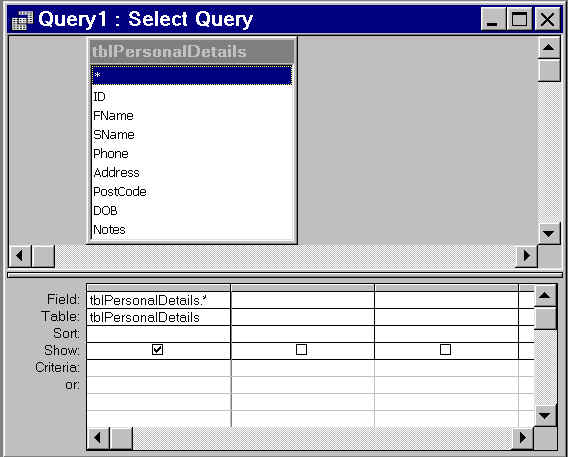
 To run the query click on the
 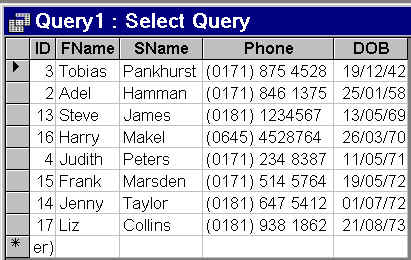 Here we can see the result of our query. Only the 5 fields
selected are included.
Here we can see the result of our query. Only the 5 fields
selected are included. 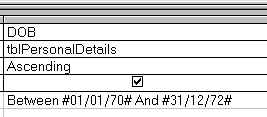
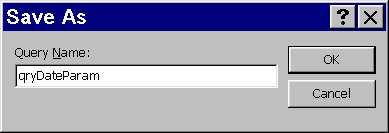 The Save As dialogue box
pops up. Here the default name Query1 has been changed.
The Save As dialogue box
pops up. Here the default name Query1 has been changed.